How to Design Your Own Hoodie: Ideas, Inspiration, and Tools for Beginners
 Posted By Sofia Fox —
Sofia loves compiling data on custom swag our customers love and working with our internal experts to bring you the very best buying guides, advice, and industry stats.
SHARE:


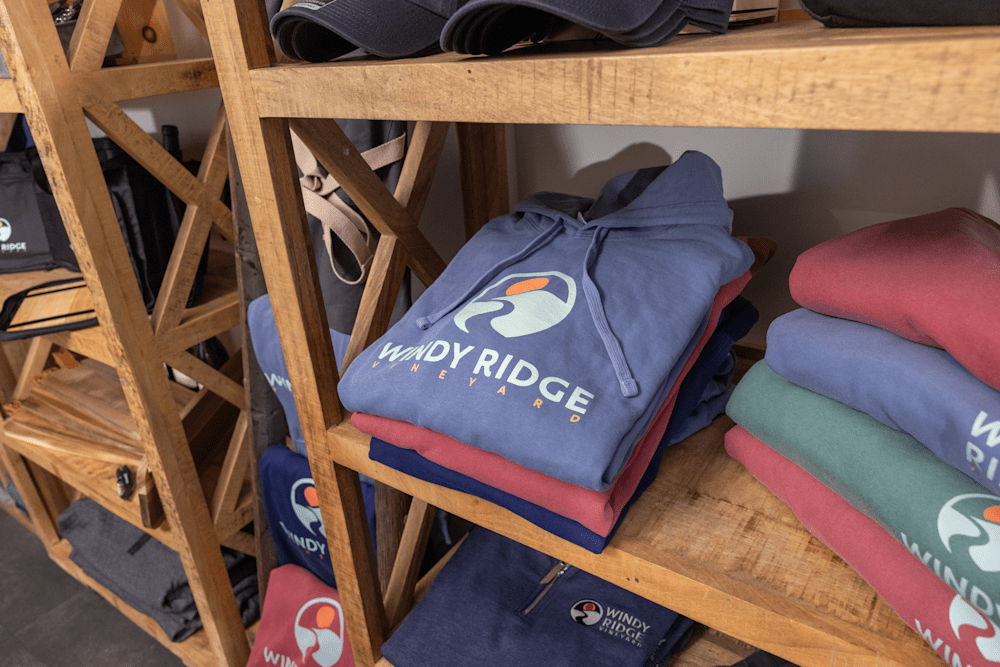
You don’t need a massive budget or creative expertise to design a custom hoodie from scratch. In fact, all it takes is a rough concept and a few minutes in our online Design Lab — no special software or freelance designers required.
Personalization is what turns basic apparel into a keepsake. Our 2025 Custom Ink Employee Holiday Gift Survey found that 82% of employees say they value a gift more when it includes personalization. A hoodie with a name on it, a team slogan on the back, or a hand-drawn logo on the chest carries that weight that a generic item can’t match.
To help you create the perfect custom hoodies, this step-by-step guide covers four distinct hoodie design approaches with real-world examples, and explains exactly how to upload your artwork, place your design, and prepare your file for print.
In This Article
- How to Make a Custom Hoodie Online: Step-by-Step
- Custom Hoodie Design Ideas by Approach
- Custom Hoodie Design Ideas by Use Case
- Where to Put Your Design on a Hoodie
- File and Artwork Requirements
- Frequently Asked Questions
Key Takeaways
- 82% of people value a personalized gift more than a generic one (2025 Custom Ink Employee Holiday Gift Survey), and a hoodie with a name, slogan, or logo is one of the easiest ways to deliver that.
- Your design approach determines your print method. Text-only and single-color logos work great with screen printing. Photo-quality or full-color artwork needs DTG or DTF. Matching approach to method keeps costs down and quality up.
- Design placement changes the entire feel of a hoodie. Full front reads as casual and expressive; left chest reads as professional; back reads as team or event gear. Choose based on who’s wearing it and where.
How to Make a Custom Hoodie Online: Step-by-Step
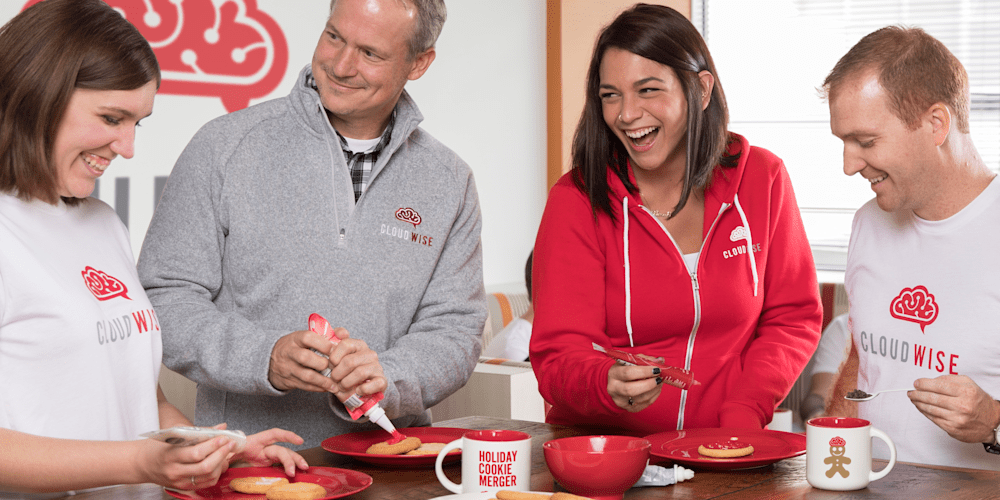
You can design and order custom hoodies entirely online through our Design Lab with no account required to start. The whole process from blank canvas to submitted order takes most people under 30 minutes.
- Choose your hoodie style and color. Start on the custom hoodies page, select a style (pullover, full-zip, or quarter-zip), and pick your color. Once you click “Start Designing,” that product loads directly into the Design Lab so you’re working on the real garment from the start.
- Pick a placement zone. The Design Lab defaults to the front of the hoodie. Use the Front/Back toggle in the upper right to switch views, and the Sleeve Print option to access hood and sleeve zones. Choose where your design lives before building it so you’re working at the right scale.
- Build your design using one of three methods. The Design Lab gives you three ways in: Add Text (choose from hundreds of fonts, adjust size, shape, rotation, outline, and color), Add Art (browse the clipart gallery by category), or Upload (drop in your own logo, illustration, or photo file). Most designs combine at least two of these. Don’t have a design in mind? Find one in our template library.
- Preview and adjust. The canvas updates in real time so you see exactly how your design looks on the chosen color and style. Zoom in to check detail. Use the Product Colors button to see how the same design reads on different hoodie colors before committing.
- Add personalization if needed. The Add Names feature lets you put a different name or number on each piece in your order. Useful for sports teams, school groups, and onboarding kits where every person gets something that’s specifically theirs.
- Get a free expert review before it prints. Every order goes through a free review by our design experts before production. If your file resolution is too low, your text is too small to print cleanly, or your color contrast won’t hold on the chosen fabric, they’ll flag it and suggest a fix.
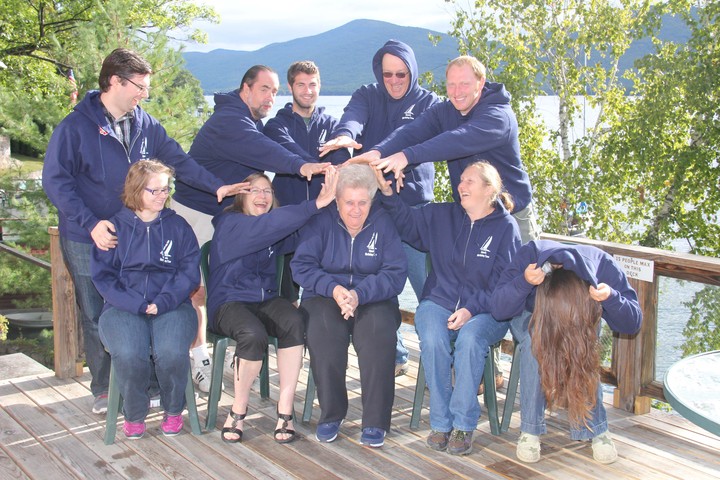
“Custom Ink was awesome in providing us with a website that made designing the logo super easy. Customer service was very helpful answering all questions and finalizing the details.”
Custom Hoodie Design Ideas by Approach

Every hoodie design falls into one of four styles or approaches. The style you choose determines which Design Lab tools you’ll use, which print method works best, and what your design will look like on fleece. The table below is the quickest way to find your starting point.
| Approach | What it looks like | Best Design Lab tool | Best print method | Key tip |
|---|---|---|---|---|
| Text-only | Group name, slogan, year, individual name, motto | Add Text. Choose font, adjust size, curve or arch the text. | Screen printing or embroidery | Use bold fonts at 12pt or larger. Thin script fonts under 0.5″ often lose definition on fleece. |
| Logo / brand mark | Company logo, team crest, club seal, school emblem | Upload. Drop in your logo file. | Screen printing, embroidery, or DTF | Upload a vector file (.ai or .eps) for the sharpest result. PNG at 300 DPI also works well. |
| Illustrated / graphic | Mascot, custom illustration, clipart-based design, hand-drawn art | Add Art for clipart, or Upload for original illustrations | Screen printing (1-6 colors) | Keep to 4-6 colors to manage cost and print complexity. Each additional ink color adds a screen. |
| Photo / full-color | Team photo, portrait, photographic artwork, full-color gradient design | Upload. Use a high-resolution image file. | DTG (cotton-face fleece) or DTF (all fleece types including dark colors) | File must be at least 200 DPI at the intended print size. DTF is the better pick for dark hoodies. |
You don’t have to pick just one design element. Most memorable hoodie designs combine a graphic element with text. A mascot illustration with the team name underneath. A company logo with the year printed smaller below. A bold personal slogan paired with a small flourish from the clipart library. Start with whichever element feels most central to the story you’re trying to tell, then build outward.
If you have original hand-drawn artwork, our team can work with it. The Fighting 69th relay team had a niece draw their mascot, a shamrock-clad superhero runner, and we helped convert it from a 4-color sketch into a clean 3-color print:
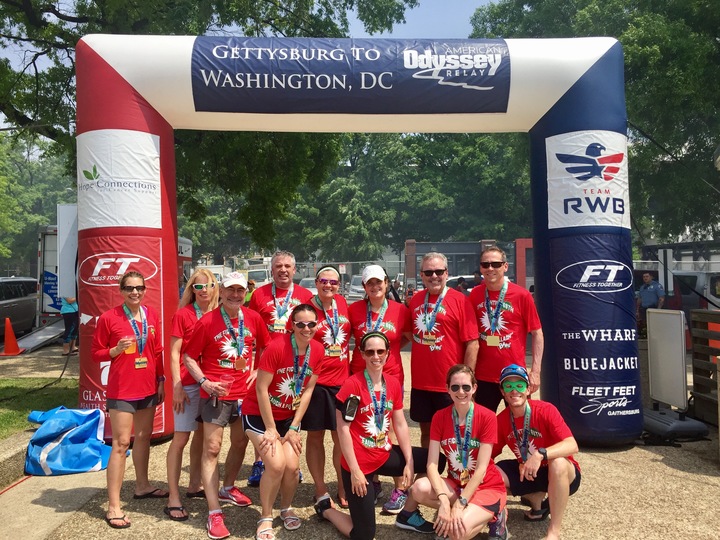
“My niece drew the main component of the t-shirts, a shamrock-clad superhero runner. CustomInk helped finish the design, and worked with us to convert her 4-color drawing into 3 for better printing.”
Custom Hoodie Design Ideas for Every Group

To create the perfect custom hoodie, you need to match your design method (like a logo, photo, or text) with your use case (who is wearing it and why).
Different groups have different styles. Below, we break down the most common groups we outfit and pair each one with specific design direction that works best for them.
Sports and Athletic Teams
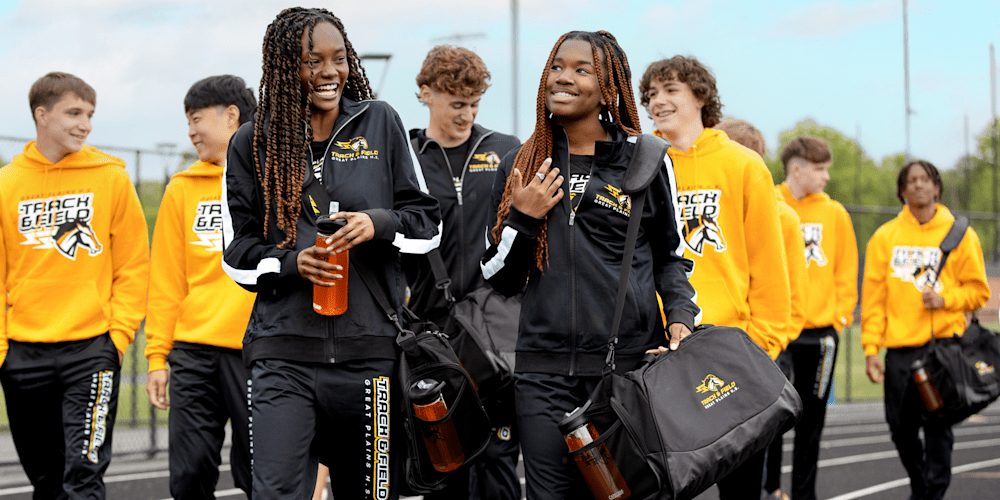
Team name on the front, player numbers or names on the back. Keep it legible from the sideline, which means bold fonts, high-contrast ink-on-hoodie color pairings, and no thin lines. Mascots work well as a center graphic with the team name arched above and the year below. Our Names and Numbers feature lets you put a different name and number on each hoodie in one order.
- Classic layout: Team name arched across the chest, mascot center, year at the bottom
- Modern layout: Large numeral on front left, team name vertical on the right sleeve
- Minimal layout: Left chest logo only, names and numbers on the back
Check out the sports templates in our design library for inspiration.
Company and Corporate Teams

Logo on the left chest is the professional standard and works for both screen printing and embroidery. Keep branding subtle. According to the 2026 ASI Global Ad Impressions Study, 85% of consumers remember the advertiser who gave them a logoed product, and fleece and outerwear deliver some of the highest impression counts of any promotional item because people wear them repeatedly. According to the 2026 Custom Ink Swag Trends Survey, 53% of buyers are “very” or “extremely” interested in premium decoration methods like embroidery because it conveys quality. For conference gear, team retreats, or onboarding kits, a left-chest embroidered logo on a quality fleece reads as a genuine gift rather than a branded giveaway.
- For onboarding kits: Left-chest logo embroidered, employee name or “Class of [Year]” printed on the back
- For retreats and events: Full front logo + event name and date on the back
- For client gifts: Minimal left-chest logo only; the hoodie speaks for itself
School Groups and Graduation

School or class hoodies typically anchor on the class year and a motto or inside joke. The Design Lab has a full clipart library of academic and school-related graphics if you don’t have a mascot file on hand. For college groups, we’re officially licensed with hundreds of universities, so you can use official logos and mascots directly in the Design Lab without sourcing an approved file yourself.
- Senior class: “Class of [Year]” in large text, school mascot, individual names listed on the back
- Club or organization: Org name + founding year, design that references the group’s activity or inside culture
- Spirit wear: School colors, mascot, season or tournament name
Personal Events and Groups

Family reunions, birthday trips, bachelorette groups, and friend squads have the most creative freedom. This is where inside jokes, family trees, group nicknames, and custom illustrations shine. The custom hoodies guide covers fabric and style selection in depth if you haven’t picked your hoodie yet. Find ideas for parties and celebrations in our template library.
- Family reunion: Family name and year front and center, list of family members or branch names on the back
- Birthday trip: Group nickname or trip name on front, individual names on back, destination on sleeve
- Bachelorette: Bride’s name + “Squad” or a shared nickname, date and location on the back or sleeve
Where to Put Your Design on a Hoodie

Placement changes the entire impression of a hoodie. The Custom Ink Design Lab lets you place artwork on the front, back, sleeves, and hood. The table below shows how each zone reads and when to use it.
| Placement zone | How it reads | Best for | Design tip |
|---|---|---|---|
| Full front (center chest) | Bold, expressive, casual | Team spirit, personal events, fundraiser gear, statement designs | Most design real estate; works best on pullovers where the front isn’t interrupted by a zipper |
| Left chest (small logo) | Professional, subtle, classic | Company apparel, embroidered logos, corporate gifts, coach gear | Left-chest placement is the professional standard; keep designs under 4″ wide for clean results |
| Full back | High visibility, team-oriented, event-specific | Names and numbers, event locations, sponsor lists, class names | Combine front logo with back names for a complete team look |
| Sleeve | Modern accent, secondary detail | Year, small logo, stripe, team or event name as a secondary element | Best used as an accent alongside a front or back design, not as the sole placement |
| Hood | Bold and unexpected | Statement designs, brand plays on the hood lining, fun personal gear | A smaller, simpler design works better here; complex art can distort around the curved panel |
For most first-time orders, a front-center design covers all the bases. If you want a professional look for company or team gear, combining a left-chest logo with a back name or text block is the most common and cleanest approach.
File and Artwork Requirements
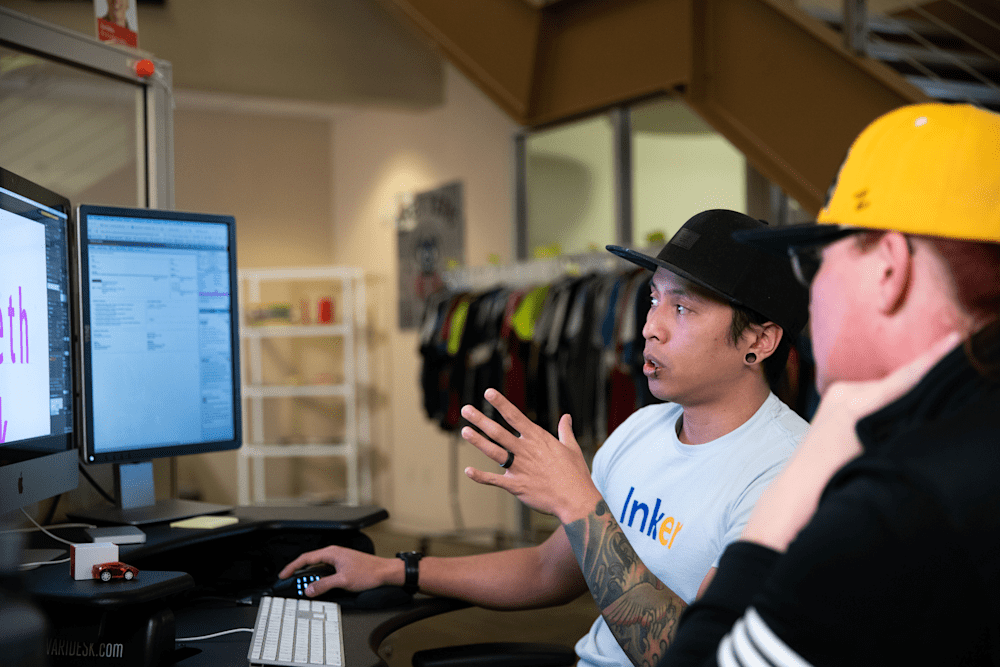
If you’re uploading your own artwork rather than building in the Design Lab, the file format and resolution you use directly affects print quality. Our team catches most issues during the free pre-print review, but starting with the right file avoids back-and-forth delays.
| File type | Extension | Best for | Notes |
|---|---|---|---|
| Vector (best) | .ai, .eps, .ps | Logos, text, illustrations with clean edges | Scales to any print size without quality loss. Preferred for screen printing and embroidery. |
| High-res raster | .png, .psd | Logos with transparency, detailed artwork, full-color designs | PNG preserves transparent backgrounds. Minimum 300 DPI at intended print size. |
| Photo / full-color raster | .jpg, .bmp | Photographs, photorealistic designs | Minimum 200 DPI for full-color process printing. Higher is better; 300 DPI preferred. |
| Multi-element designs exported from design software | Works well when exported as press-quality. Confirm vector elements are embedded, not rasterized. |
The Custom Ink Design Lab accepts all major file types up to 20MB. If your file is in an unusual format or has a resolution issue, our design experts will catch it during the pre-print review and reach out before anything goes to production. If you don’t have a clean digital file at all, note that in the Add Notes field when ordering, and our design experts can redraw your artwork at no charge.
A Note on Color
Design on a screen and design on fleece read differently. Dark ink on dark fabric disappears. Light ink on light fabric muddies.
The Design Lab previews your color combinations on the actual product, so use it to confirm contrast before ordering.
For screen printing, each ink color is a separate screen, so designs with 1-3 colors cost less per piece than designs with 6. If you want to reduce cost on a large order, simplifying your palette is the most effective lever.

“We ordered a new design on hoodies and customink.com was excellent. The design was not easy to reproduce so they went the extra step of sending a sample so I could see firsthand how it looked. They looked great!”
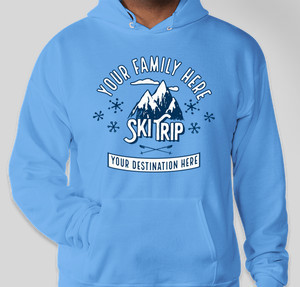
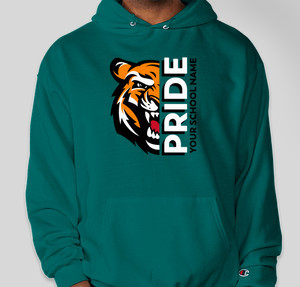
Design Inspiration Templates
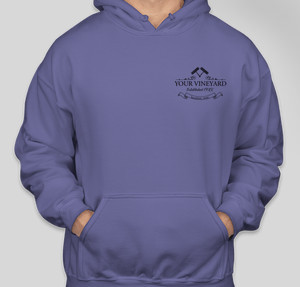
Popular Hoodies to Start With
Not sure which hoodie to pick? These two are easy favorites for groups.

Bayside USA-Made Heavyweight Pullover Hoodie
- Heavyweight, made-in-the-USA pullover hoodie
- Big front area for a bold design

Champion Powerblend Midweight Zip Hoodie
- Midweight zip hoodie that’s easy to layer
- Room for a logo on the chest
Frequently Asked Questions
Q: How do I put my own design on a hoodie?
Upload your artwork directly in our Design Lab using the Upload button. Accepted file types include .ai, .eps, .png, .jpg, .psd, and .pdf up to 20MB. Once uploaded, you can resize, reposition, and rotate your design on the hoodie canvas before ordering. Every upload gets a free pre-print review by our design experts.
Q: What if I don’t have any design ideas or artwork?
Start with our Design Lab’s template library. Browse designs filtered by category (sports, events, company, school) and customize the text, colors, and layout to fit your group. The clipart gallery has thousands of graphics organized by topic, so you can build a design from scratch without uploading anything. If you want something more custom, our design experts are available at no charge to help you develop a design from a rough idea or sketch.
Q: What file format should I use when uploading a logo to a custom hoodie?
Vector files (.ai or .eps) produce the sharpest results because they scale to any print size without losing quality. If you only have a raster file, use .png with a transparent background at 300 DPI or higher at the intended print size. Avoid low-resolution JPEGs from websites or email signatures; they look fine on screen but soften or pixelate when printed large on fleece.
Q: Can I print a photo on a custom hoodie?
Yes, using digital printing (DTG or DTF). Your photo file needs to be at least 200 DPI at the intended print size for full-color process printing. DTG works best on cotton-face fleece in lighter colors. DTF is the better option for dark hoodies or polyester-blend fleece because it applies a white base layer that keeps colors accurate. Our design experts will confirm the right method when reviewing your order.
Q: How many colors can I use in my hoodie design?
For screen printing, each ink color requires a separate screen, so more colors increase per-piece cost. Most team and group orders use 1-4 colors to keep pricing manageable. For digital printing (DTG or DTF), color count doesn’t affect cost at all; a 15-color photo costs the same as a 2-color graphic. If your design is detailed and full-color, digital printing is the right method.
Q: Can I order just one hoodie with my own design?
Yes. Many styles are available with no minimum order quantity, including digital-printed options. Screen-printed styles typically require a minimum of 12-24 pieces because of screen setup cost. Check the product page for each style to confirm its minimum.
Q: How is designing a custom hoodie different from buying a template online?
A template on a design platform like Canva or Adobe Express produces a file, not a product. You’d still need to find a printer, upload the file, match colors, and manage shipping separately. In our Design Lab, the design, product, and production are connected. What you see in the canvas is what gets printed, and every order gets a free pre-print review before production. For a full comparison of hoodie styles and fabrics to pair with your design, see our custom hoodies guide.
More on Branding & Design
- How to Design Your Own Custom Hat
- Image Resolution 101: Raster vs. Vector and DPI vs. PPI, Explained for Non-Designers
- 7 Logo Types Explained & When To Use Them: Which Designs Print Best on Apparel, Uniforms, and Merch
- Logo Printing on Promotional Products: How to Adapt Your Logo for Hoodies, Mugs, and Pens
- Screen Printing vs. Digital Printing: 7 Dos and Don’ts for Custom Apparel
- Browse all Branding & Design posts

Sofia loves compiling data on custom swag our customers love and working with our internal experts to bring you the very best buying guides, advice, and industry stats.