Image Resolution 101: Raster vs. Vector and DPI vs. PPI, Explained for Non-Designers
A guide to print-ready swag
 Posted By Custom Ink Staff —
The Custom Ink Staff is a team of design enthusiasts and promo product experts dedicated to bringing your ideas to life. From screen printing secrets to the latest trends in custom gear, we draw on decades of collective experience to help you create something unforgettable.
SHARE:


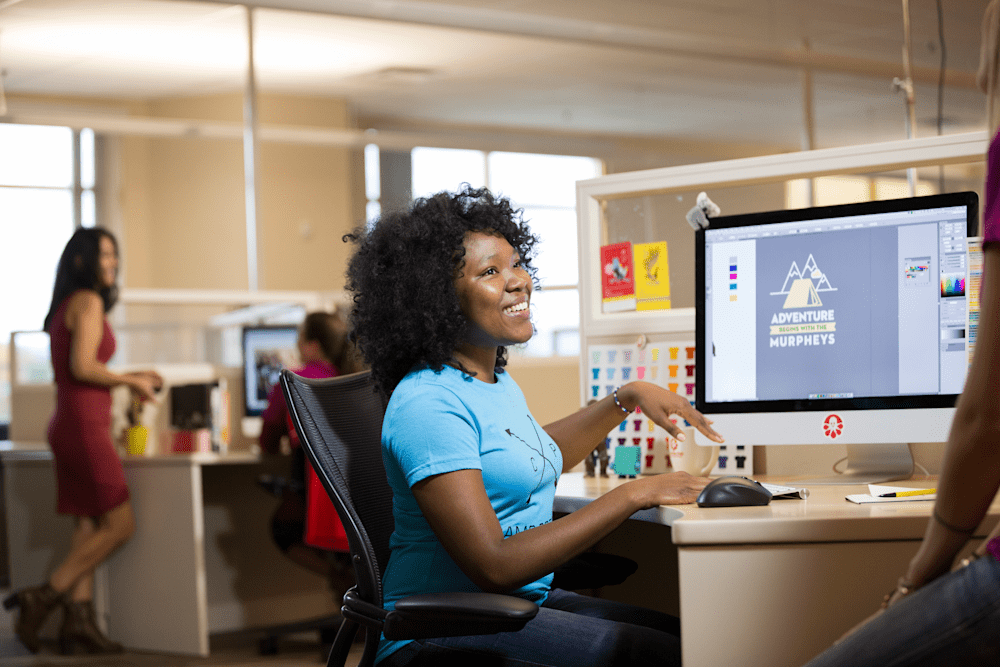
Nearly 50% of swag organizers are forced into accidental graphic designer roles, according to our 2026 Unsung Heroes Survey. Usually, the chaos begins with a “low resolution” error message or an “unsupported file” rejection.
Instead of lost hours googling image file formats, use this breakdown to master the essentials on printing custom gear.
We’ll clarify the functional differences between raster vs. vector and DPI vs. PPI, ensuring your logos and images remain crisp on any surface. Learn exactly what custom printers require and how the Custom Ink Design Lab helps you avoid the blurry, pixelated results that ruin a brand’s first impression.
In This Article
- Raster vs. Vector: Which One Is Your File?
- DPI and PPI Explained
- Why Does My Logo Look Pixelated?
- File Requirements by Decoration Method
- How Big Does Your File Need to Be?
- The Pre-Upload Checklist
- What If Your File Isn’t Perfect?
- Frequently Asked Questions
Key Takeaways
- Vector files are the gold standard: formats like .ai, .eps, and .svg scale to any print size without losing quality, making them the right choice for logos and graphics across all decoration methods.
- Screen printing, DTG, embroidery, and sublimation each have different file requirements, and most guides don’t distinguish between them, but a file that works for DTG can fail for screen printing, and vice versa.
- If your file falls short, our art team fixes it for free: every order gets a design review before it goes to production, and our expert artists will touch up low-resolution images at no extra cost.
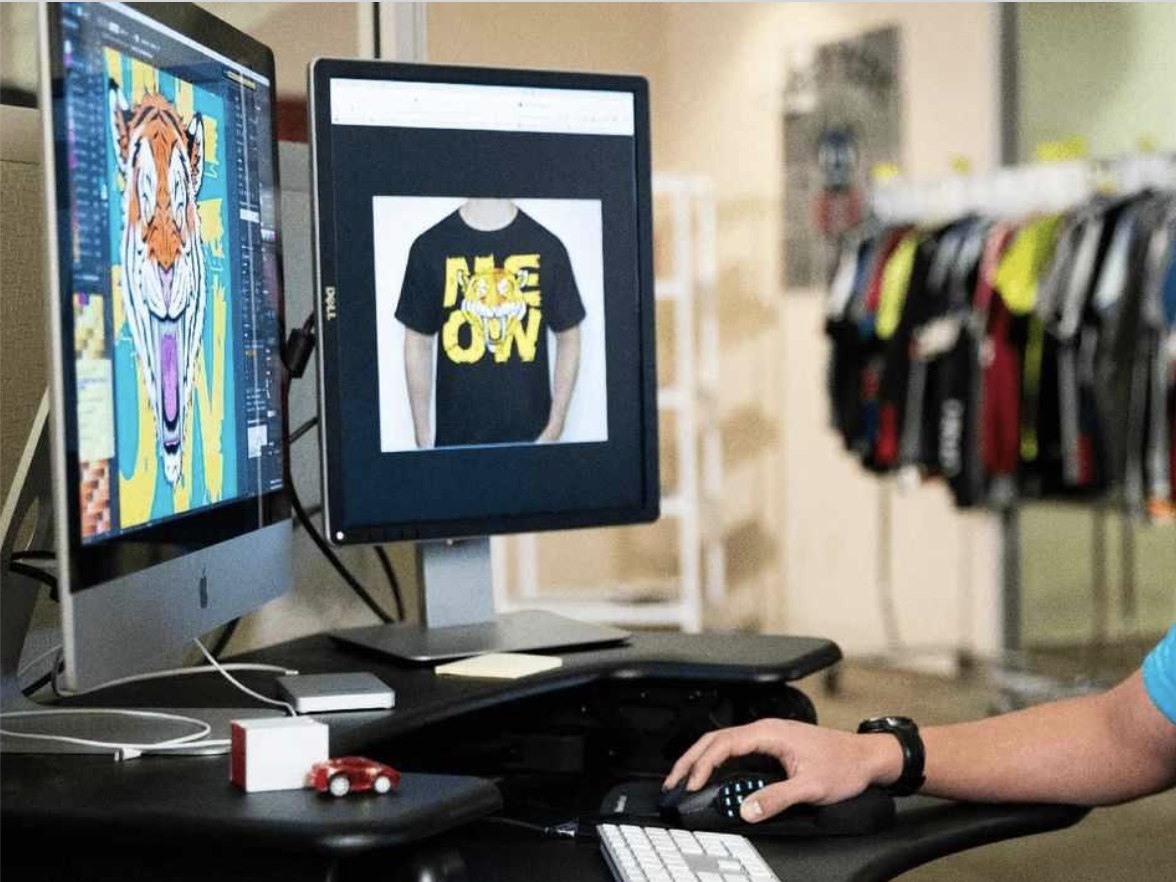
Raster vs. Vector Images: Which One Is Your File?
There are two ways a digital image can be built, and they behave very differently at print time.
What Is a Raster File?
A raster image is made of a grid of colored pixels, like a mosaic. Every raster file has a fixed number of those pixels baked in. When you scale a raster image up beyond its original size, you’re just stretching those same pixels farther apart, and the image gets blurry or blocky. Photos from your phone, screenshots, and images grabbed from a website are all raster files.
What Is a Vector File?
A vector image is defined by mathematical paths, not pixels. Think of it as a connect-the-dots drawing where the computer always re-draws perfectly, no matter how large you print it. Logos, icons, and type-based designs are nearly always better as vectors because they can go from a business card to a billboard without losing a single edge.
How to Tell Which Image Type You Have (The 10-Second Test)
This quick test will help you determine what time of image file you have: Open your file and zoom in to 400%. If the edges look blocky or you can see individual colored squares, it’s raster. If everything stays perfectly crisp, it’s vector. You can also check the file extension, using the breakdown below.
| Raster | Vector | |
|---|---|---|
| What it is | Grid of colored pixels | Math-defined paths and shapes |
| Common extensions | .jpg, .png, .gif, .psd, .tif, .bmp | .ai, .eps, .pdf, .svg, .cdr |
| Best for | Photos, complex gradients, photographic images | Logos, icons, type, anything that needs to scale |
| Worst for | Scaling up; quality drops as size increases | Full photographic images (can look “posterized”) |
| Custom Ink verdict | Accepted at 200 DPI minimum at intended print size | Strongly preferred, scales to any size cleanly |
Our Custom Ink Design Lab accepts all popular image file formats, both vector and raster. If your logo was professionally designed, ask the designer for the original .ai or .eps source file. That’s the one to keep and to upload.
What Is the Difference Between PPI and DPI?
Even though DPI and PPI measure two different things, in practice the terms often get used interchangeably. For custom apparel, that’s fine. What matters most is the number.
What Is PPI?
PPI stands for Pixels per Inch and describes how densely pixels are packed in a digital file. Think of PPI as the resolution of your digital file. The higher the PPI, the more detail the image contains.
- High PPI: Pixels are smaller and packed tightly together, resulting in a sharp, crisp image where individual pixels are invisible to the naked eye.
- Low PPI: Pixels are larger and more spread out. This often leads to pixelation, where the image looks blocky or jagged.
What Is DPI?
DPI, or Dots Per Inch, is a measurement used in the printing process. It describes the number of individual ink droplets a printer places within one linear inch of a physical surface.
While PPI is about how an image looks on a screen, DPI is about how a printer recreates that image using physical ink or toner.
How Many DPIs Should My File Be for Printed Gear?
The gold standard print resolution is 300 DPI at the actual print size. That’s what we recommend at Custom Ink to help ensure you get the very best print.
But even if you don’t have an image that meets that requirement, Custom Ink can help. Our minimum at Custom Ink is 200 DPI at the intended print size, which is lower than many competitors require. Don’t worry: Our team of designers will review your file and make adjustments so that you still get a clean and crisp final image.
The critical phrase is “at the intended print size.” Intended print size is the physical dimension you want the final product to be (such as a 3.5″ x 2″ business card). Actual print size is how large your image can actually be printed before it starts to lose quality.
If your file is a vector, DPI is irrelevant: vectors have no fixed resolution.
If your file is a raster (.jpg, .png, .psd), check that it’s at least 200 DPI at the size you want printed. Anything below that, our art team will touch up for you at no charge before production. More on that in the last section.
How to Find an Image’s PPI or DPI
Finding your file’s dimensions and resolution only takes a few clicks. Here is how to locate that data on the two most common operating systems.
On a Mac (macOS):
- Select your image file in Finder
- The file information will automatically appear
- Dimensions: Shows the total pixel count (e.g., $3000 \times 2000$).
- Resolution: This is where you will see the PPI. For example, 72×72 means it has a PPI of 72.
- Note: If you don’t see “Resolution” here, open the image in Preview, go to Tools > Show Inspector, and look for “Image DPI”
On Windows:
- Right-click the image file in File Explorer.
- Select Properties.
- Click the Details tab
- Scroll down to the Image section
- Dimensions: Shows the total width and height in pixels
- Horizontal/Vertical Resolution: This shows your PPI (labeled as DPI in Windows properties)
Why Does My Logo Look Pixelated?

PPAI research shows 72% of consumers equate the quality of a promotional product with the reputation of the company behind it. That means a blurry logo on a shirt reflects on your brand as much as your design file. Pixelation in a printed logo traces back to one of five causes almost every time. We’ve got the fix for each one.
- You pulled it off your website. While a file pulled from a website may look fine on a computer screen, it will print blurry on fabric. Web images are typically 72 PPI. Print needs 200 DPI minimum. This is the most common source of frustration we see. The fix: Track down the original design file from whoever made the logo.
- You’re scaling a small image up. A 500 × 500 pixel file printed at 10 inches wide produces only 50 DPI, which is severely below threshold. Resizing the file in software doesn’t add pixels; it just stretches them. The fix: Get the file at the size you actually need to print, or request the vector original.
- You’re using a JPEG that’s been re-saved multiple times. JPEG is “lossy”: Every time you save it, the file discards pixel data to stay small. After a few rounds of editing and re-saving, the quality degrades visibly. The fix: Work from the original file, or switch to PNG (which is loss-less) for any logo that isn’t a photograph.
- Your vector file was exported as a tiny PNG. This catches people off-guard: A .pdf or .ai file will export as a small raster PNG unless you specify the output size. The underlying vector is fine; the export was the problem. The fix: Re-export the vector at the actual print size, or upload the original vector file directly.
- Your screen is misleading you. High-resolution (“Retina”) displays make low-resolution files look sharper than they are because the screen packs extra pixels to compensate. What looks fine on your laptop screen can still print blurry. The fix: Check actual pixel dimensions, not how the file looks on screen.
Our help center explains raster vs. vector in more depth if you want to dig into more of the technical detail. And if you’re uncertain about your file, our team reviews every order before it prints.
The Zonian Tough Mudders group found out firsthand how easy that process is:

“Great fast service, ordered about 3 weeks out, had a rep fix the colors for me and promise me fast shipment. Arrived even sooner than expected. Great company to work with, and our second Tough Mudder with shirts from Custom Ink.”
Featured Products from This Story
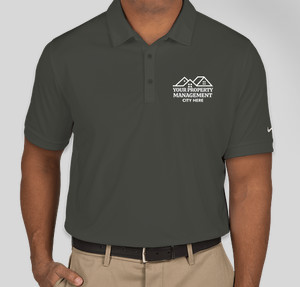
Sport-Tek Competitor Performance Muscle Tank
- 3.8 oz, 100% polyester interlock with PosiCharge technology to lock in color and prevent logo fading
- Moisture-wicking fabric pulls sweat away during high-activity events and outdoor wear
- Sizes XS–4XL; removable tag for comfort and optional relabeling
Art File Requirements by Decoration Method
Most guides on raster vs. vector treat all printing as the same process. It isn’t. The file format and resolution that works perfectly for a DTG print can fail completely for screen printing, and embroidery has its own requirements neither of those cover. This table is the important printing advice most articles skip.
| Decoration Method | What It Does | Best File Format | Min. Resolution / Spec | Common Mistake |
|---|---|---|---|---|
| Screen Printing | Pushes ink through a mesh stencil; one screen per color | Vector (.ai, .eps, .svg) with separated spot colors | Vector preferred; raster 300 DPI at print size; minimum stroke weight 1pt; minimum text size 6pt | Sending a JPEG with subtle gradients; each color must be separated to its own screen, and gradients can’t print as flat separations |
| DTG / DTF (Digital) | Inkjet printer sprays ink directly onto fabric at up to 1,200 DPI | PNG with transparent background; RGB color mode | 200 DPI minimum at print size; 300 DPI preferred for fine detail and photographic images | Uploading a PNG without a transparent background: the white fill around the logo prints as a white box on any colored or dark garment |
| Embroidery | Stitches design into fabric using thread (requires digitizing first) | Vector for digitizing (.ai, .eps); our art team handles the conversion | No DPI requirement (vector-based); minimum text height 0.25 in. / 6mm; minimum line weight ~1mm | Sending a logo with very fine lines or small text: details under 1mm will not stitch cleanly, and our artists will simplify the design before production |
| Sublimation / All-Over Print | Dye is heat-pressed into polyester fibers | High-res PNG (transparent), RGB color mode | 300 DPI at print size; polyester fabric required | Using white in the design to mean “white.” On sublimation, white means the fabric color shows through, not a white ink; there is no white ink in sublimation |
If you’re not sure which method your order will use, we choose for you, based on your design and product. Our team matches every order to the print method that will produce the best result.
The Destinations International team got exactly that:

“Our 5k team ordered team shirts and they turned out great! We had a blast and our team looked sharp on the 5k course. Thanks Custom Ink!”
Featured Products from This Story
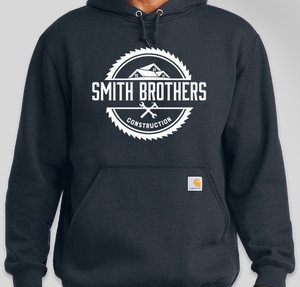
Sport-Tek Competitor Performance Shirt
- 3.8 oz, 100% polyester interlock with PosiCharge technology that locks in color so logos stay bright wash after wash
- Moisture-wicking fabric, roomy athletic cut; available in XS–4XL including tall sizes
Sport-Tek Women’s Competitor Performance Shirt
- 3.8 oz, 100% polyester interlock with PosiCharge technology; flattering modern silhouette
- Superior moisture-wicking, lightweight and breathable; ideal for corporate events and active outings
Get Logo Design Inspiration
Need help designing your own logo? Our Design Lab includes templates built for corporate events, team uniforms, and company merch. Browse a few below.
How Big Does Your File Need to Be?
If you’re working with a raster file and trying to figure out whether it’s large enough for the print location you have in mind, use this quick reference. These figures are based on our 200 DPI minimum and the 300 DPI recommended threshold. Vector files are not affected by these limits.
| Print Location | Typical Print Size | Min. Pixels (200 DPI) | Preferred Pixels (300 DPI) |
|---|---|---|---|
| Left chest / pocket | 3.5 × 3.5 in. | 700 × 700 px | 1,050 × 1,050 px |
| Full front (medium) | 8 × 10 in. | 1,600 × 2,000 px | 2,400 × 3,000 px |
| Full front (large) | 12 × 14 in. | 2,400 × 2,800 px | 3,600 × 4,200 px |
| Full back | 12 × 16 in. | 2,400 × 3,200 px | 3,600 × 4,800 px |
| Hat front | 2.5 × 2.5 in. | 500 × 500 px | 750 × 750 px |
| Sleeve | 3 × 3 in. | 600 × 600 px | 900 × 900 px |
Here’s how to check your file’s actual pixel dimensions:
- In Photoshop, go to Image > Image Size.
- In Canva, check the dimensions shown when you open the file.
- In Windows, right-click the file, select Properties, and look under the Details tab.
- On Macs, select the file in Finder and look for Resolution under Info.
The Pre-Upload Image Checklist

Work through these eight checks before you upload your artwork. Each one notes what goes wrong if you skip it.
- ☐ I have the original file, not a screenshot or website export. A screenshot or web-ripped image is already 72 PPI. There’s no way to recover resolution from it. You need the original source file.
- ☐ The file is vector (.ai, .eps, .pdf, .svg), OR it’s a raster file at 200 DPI minimum at my intended print size. Below 200 DPI, our art team will touch it up. Above 200 DPI, you’re in the clear. At 300 DPI, you’re in great shape.
- ☐ If it’s a PNG, the background is transparent (not white). A white background prints as a white box on any non-white garment. Check for a checkerboard pattern behind the logo in your image editor: that means the background is transparent.
- ☐ Any text in the logo is “outlined” or saved as paths. If text layers are live in your file, the printer needs the matching font installed. Outlining converts type to shapes, so the file is self-contained and font errors can’t happen.
- ☐ I know the colors I need. If you have Pantone Solid Coated numbers, include them; we offer Pantone matching. If not, the closest hex or RGB values work. Color accuracy starts with knowing what you’re aiming for.
- ☐ The file is under 20 MB. That’s our upload limit. If your file is larger, compress or flatten it before uploading.
- ☐ I’ve confirmed my decoration method and my file fits it. See the table above. A logo heading to an embroidered hat has different requirements than the same logo going on a screen-printed t-shirt.
- ☐ If anything above is uncertain, I know Custom Ink’s art team will handle it. That’s the safety net covered in the next section.
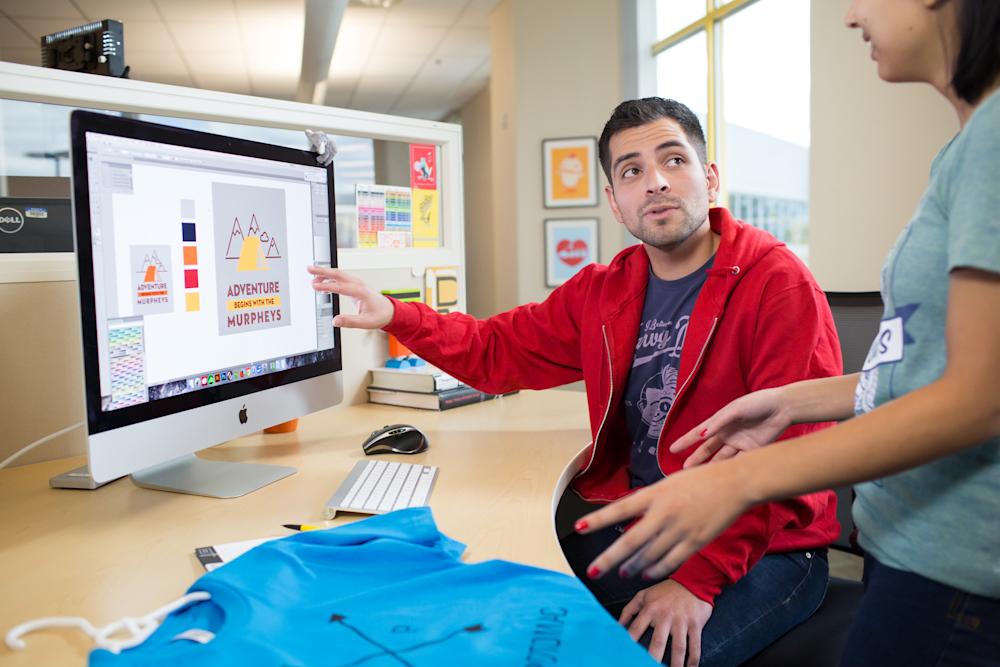
What If Your File Isn’t Perfectly Print-Ready?
Most people ordering custom gear aren’t professional designers. That’s not a problem. Our expert artists touch up any low-resolution images at no extra cost before your order goes to production. They review every order for sizing, contrast, and print quality, and if your uploaded design doesn’t look exactly right, they’ll enhance or recreate it so it prints cleanly. You’ll see a proof before production starts, so there are no surprises at delivery.
Specifically, at no additional cost, our design team can:
- Clean up a low-resolution logo so it prints sharply
- Remove a white background from a PNG
- Simplify an embroidery design to work at smaller sizes
- Convert a raster image to a graphic-style artwork suitable for screen printing.
For more complex custom artwork, including original illustrations, full redraws from a sketch, or fully custom logo design, our Design Services team can handle the whole project.
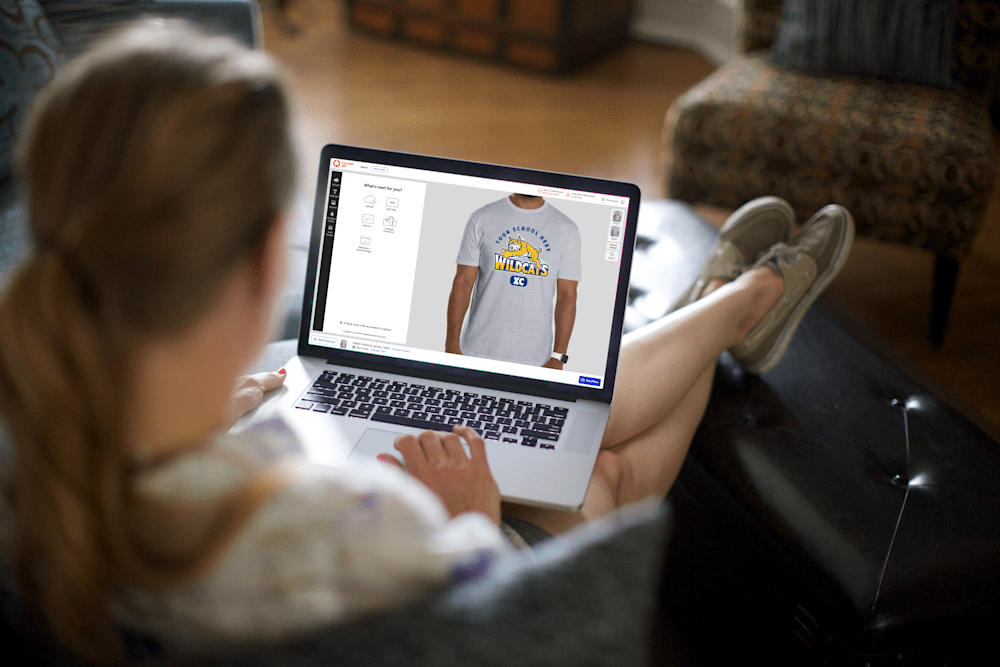
If you’re ready to upload what you have and see how it looks, our Design Lab shows a live preview on the product before you commit to anything.
Got questions about a specific file? Call our team any day of the week at 1-800-293-4232 or through our design help page. We’ve seen every file format and every resolution problem. There’s very little we can’t work with.
Frequently Asked Questions
Q: What file types does Custom Ink accept for logo uploads?
We accept all popular image formats. Vector files (.ai, .eps, .pdf, .svg, .cdr) are preferred for logos because they scale without quality loss. Raster files (.jpg, .png, .psd, .tif, .gif, .bmp) are accepted at 200 DPI minimum at the intended print size. The file size limit is 20 MB per upload. If you run into any issue with your upload, email us at service@customink.com and our team will take care of it for you.
Q: What is the minimum DPI for printing a logo with Custom Ink?
Our minimum is 200 DPI at the actual print size. Most other printers require 300 DPI, so our threshold is lower and more of your files will work without modification. If your raster file falls below 200 DPI at the size you want, our art team will touch it up for free before production. Vector files (.ai, .eps, .svg) have no DPI requirement: they scale to any size without quality loss.
Q: Why does my logo look fine on screen but print blurry?
Screens display images at 72 to 96 PPI, so a low-resolution file can look sharp on your monitor even when it lacks the pixels needed for print. The most common cause is downloading a logo from a website (72 PPI) and uploading it directly, so it looks fine until it prints. Try to get the original design file from whoever created the logo. If that isn’t possible, send us what you have and our art team will evaluate it and let you know what adjustments are needed.
Q: Does Custom Ink fix low-resolution logo files before printing?
Yes. Every order goes through a free design review where our expert artists check your artwork for print quality. If your uploaded design is below our resolution threshold or has issues that would affect print quality, our team will touch it up at no extra cost before production starts. For more complex work, including full logo redraws, original artwork, or converting a sketch to a print-ready file, our Design Services team can handle that as a paid service.
Q: What is the difference between screen printing and DTG for logo printing?
Screen printing applies ink through a mesh stencil, one color at a time, and works best for logos with solid colors and clean edges. It’s the most cost-effective method for orders of 24 or more. DTG (direct-to-garment) printing works like an inkjet printer and is ideal for full-color logos, gradients, or photographic images. It’s the right choice for smaller quantities or designs with many colors. The file requirements differ: screen printing benefits from vector files with separated spot colors, while DTG works best with a high-resolution PNG with a transparent background in RGB color mode.
Q: What file format should I use for an embroidered logo?
Vector files are preferred for embroidery because our art team uses them as the source for digitizing, the process of converting a logo into a stitch pattern. If you only have a raster file (.jpg, .png), that’s fine too; our artists will redraw the design in a stitch-friendly format at no charge. The most important thing to know about embroidery is size: text needs to be at least 0.25 inches (6mm) tall to stitch cleanly, and very fine lines or intricate detail will be simplified by our team to ensure the stitches hold their shape.
Q: Can I get help designing my custom apparel if I don’t have a logo file ready?
Absolutely. Our Design Lab includes hundreds of templates and a full clipart library, so you can build a design from scratch without any design experience. If you want something custom, including an original illustration, a full logo design, or artwork built from a rough sketch, our Design Services team offers that as a paid option. Our design experts are also available by phone and chat to help you refine whatever you have.
Q: How far in advance should I submit my logo file for custom apparel?
Our standard orders arrive within 2 weeks with free standard shipping. If you’re uploading your own artwork and it needs adjustment, our art review happens immediately after you place the order and doesn’t extend production time in most cases. Rush and Super Rush delivery options are available at checkout if you need a faster turnaround. We recommend placing your order at least 2–3 weeks out to give yourself buffer for any back-and-forth on design approvals.

The Custom Ink Staff is a team of design enthusiasts and promo product experts dedicated to bringing your ideas to life. From screen printing secrets to the latest trends in custom gear, we draw on decades of collective experience to help you create something unforgettable.